How to Configure the Outbound Smart Host for Office 365
If your Organization hasn't updated their SPF for Office365:
Step 1: Configuration
Your organization should have a SPF record for the domain(s) registered with Office 365. When implementing ExchangeDefender with Office 365, this record must be updated in the DNS zone for the relevant domain to include the following:
Remove: v=spf1 include: SPF.PROTECTION.OUTLOOK.COM –all
Replace with: v=spf1 include: EXCHANGEDEFENDER.COM -all
CONFIGURING OUTBOUND SMARTHOST CONNECTOR:
Step 2: Mail Flow
LOG IN to the Office 365 Administration Console.
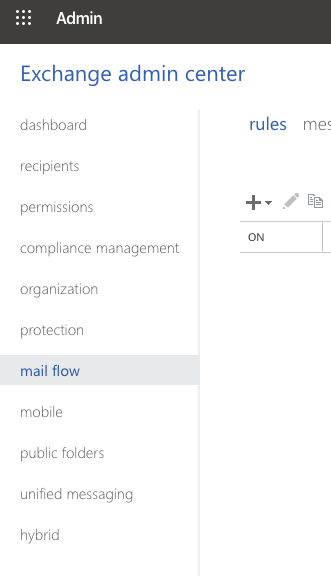
Select the Admin | Exchange menu item. The Exchange Admin Center is displayed. Once displayed, in the menu on the left-hand side, CLICK 'mail flow' as shown.
Step 3: Select ‘Connectors’
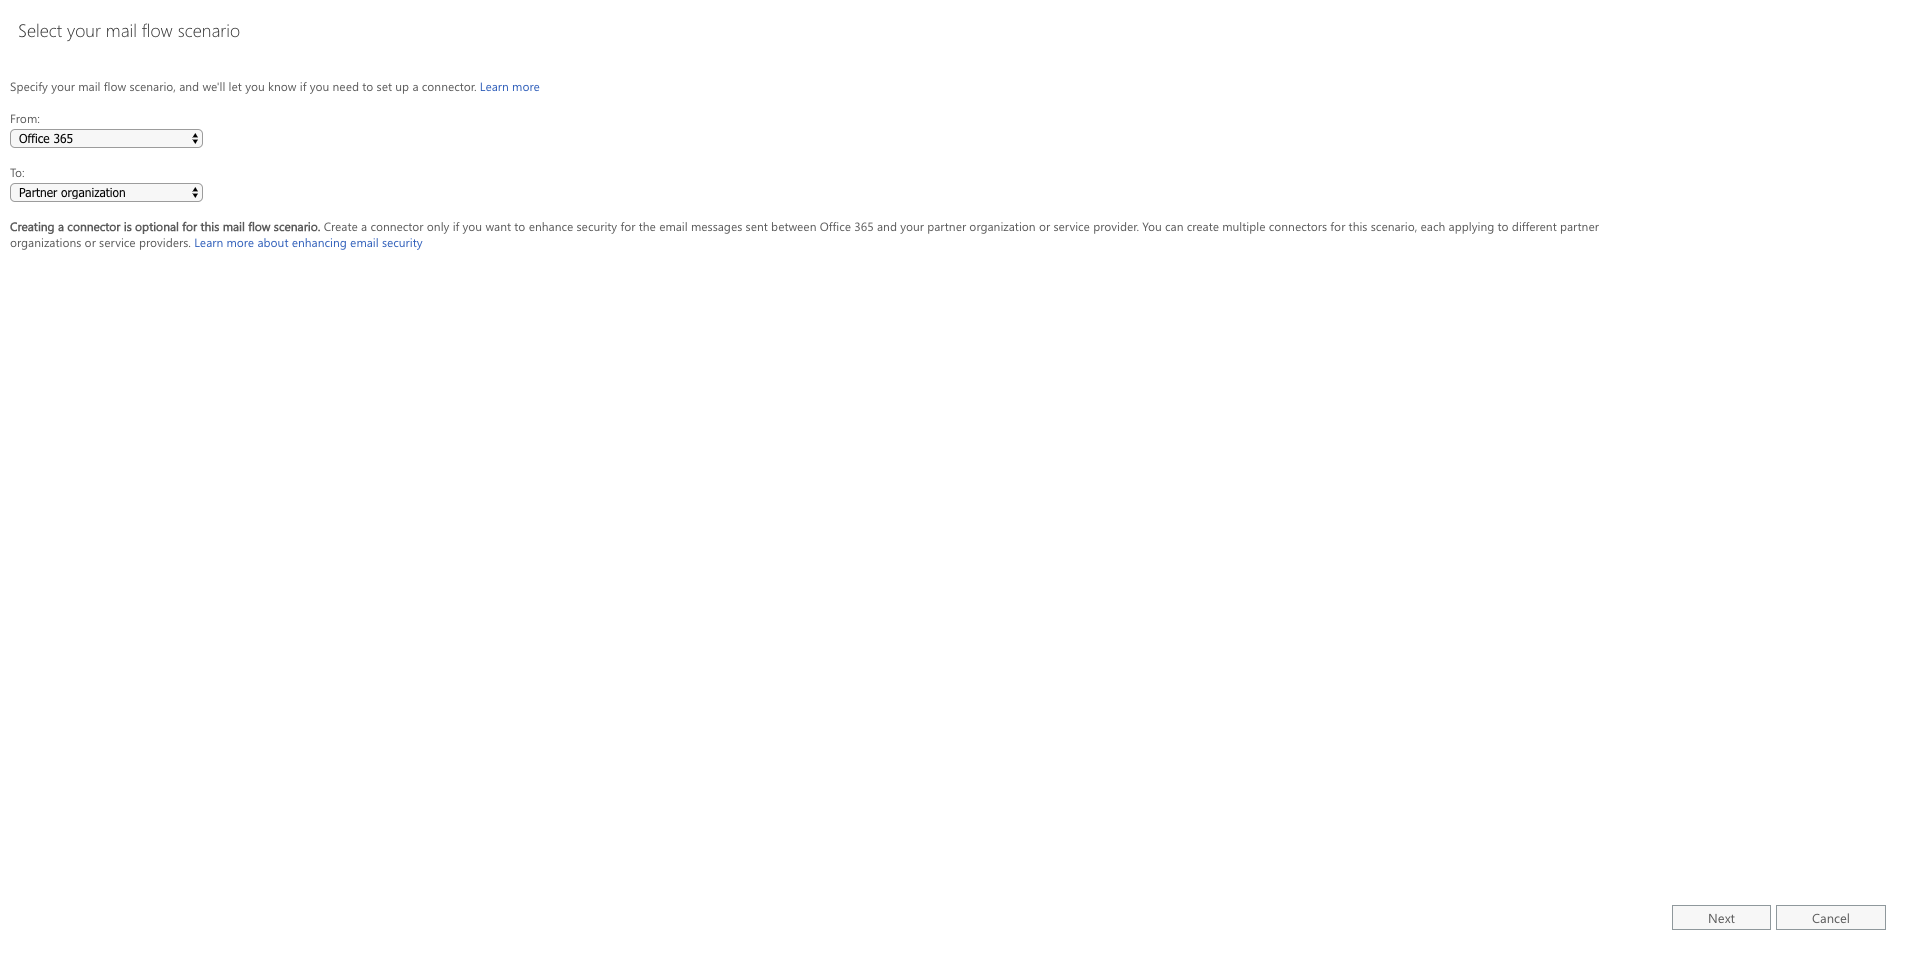
Click the ‘+’ button and you’ll be greeted with the following context menu. Once you've selected 'Office365' and 'Partner Organization' click the 'Next' button.
Step 4: New Connector
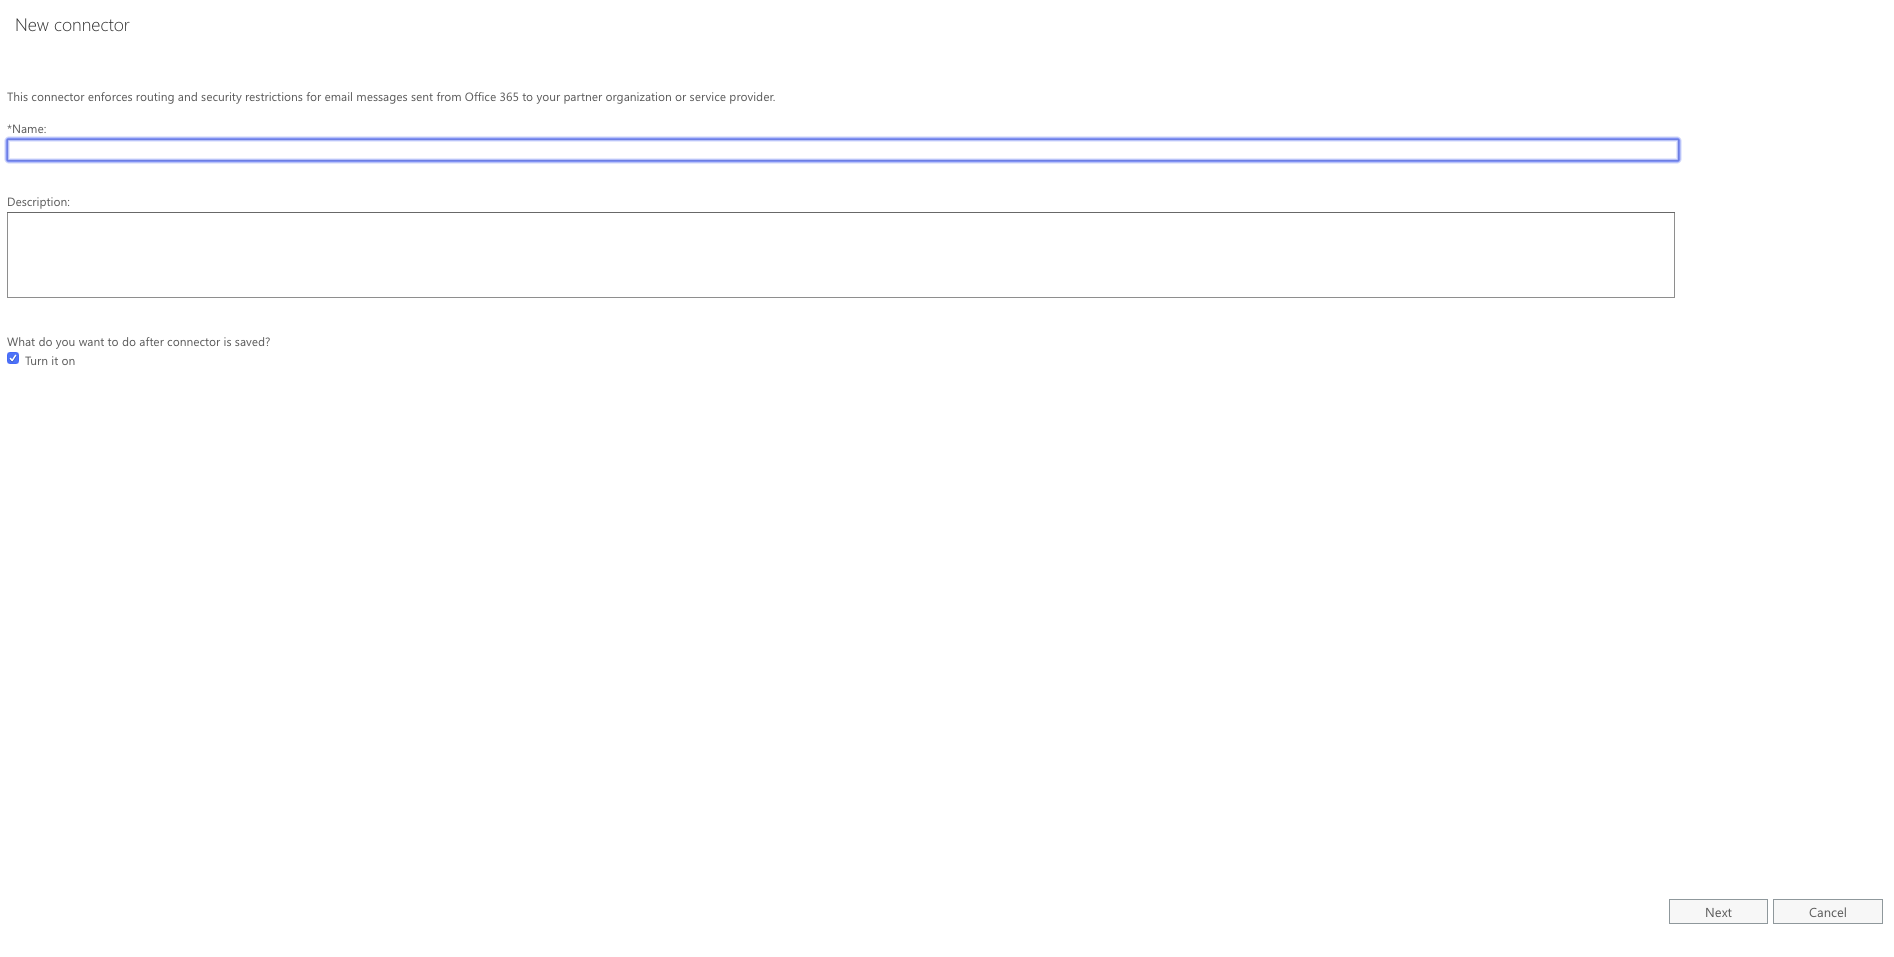
ENTER the name of the connector (Can be a name of your choosing, we chose Exchange Defender for the purposes of this guide).
CLICK check box for “Turn it On”. Click NEXT -
Select the option for 'Only when email messages are sent to these domains' and click the '+' button to add the domains
Step 5: Set the Connector Scope
Put * in the domain name field and hit the 'Ok' button.

Step 6: Route Email
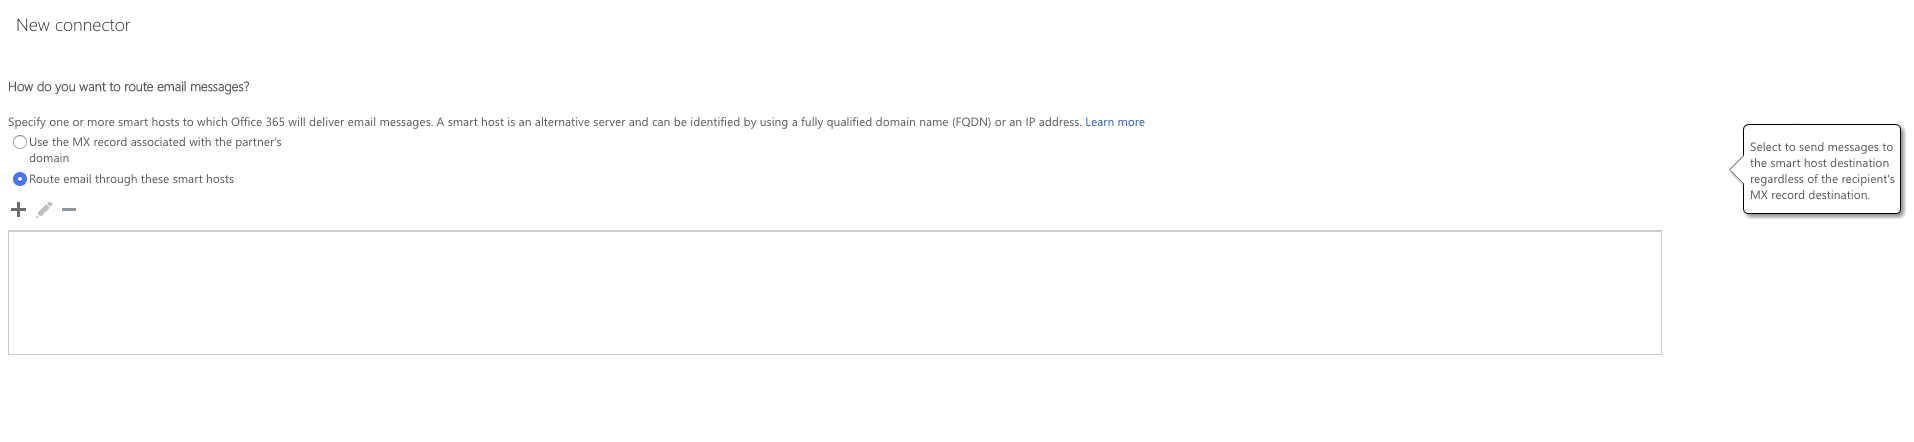
SELECT 'Route email through these smart hosts' and then hit the '+' button.
Step 7: Add a Smart Host
Add a smart host. Add 'outbound.exchangedefender.com' as you see it below.
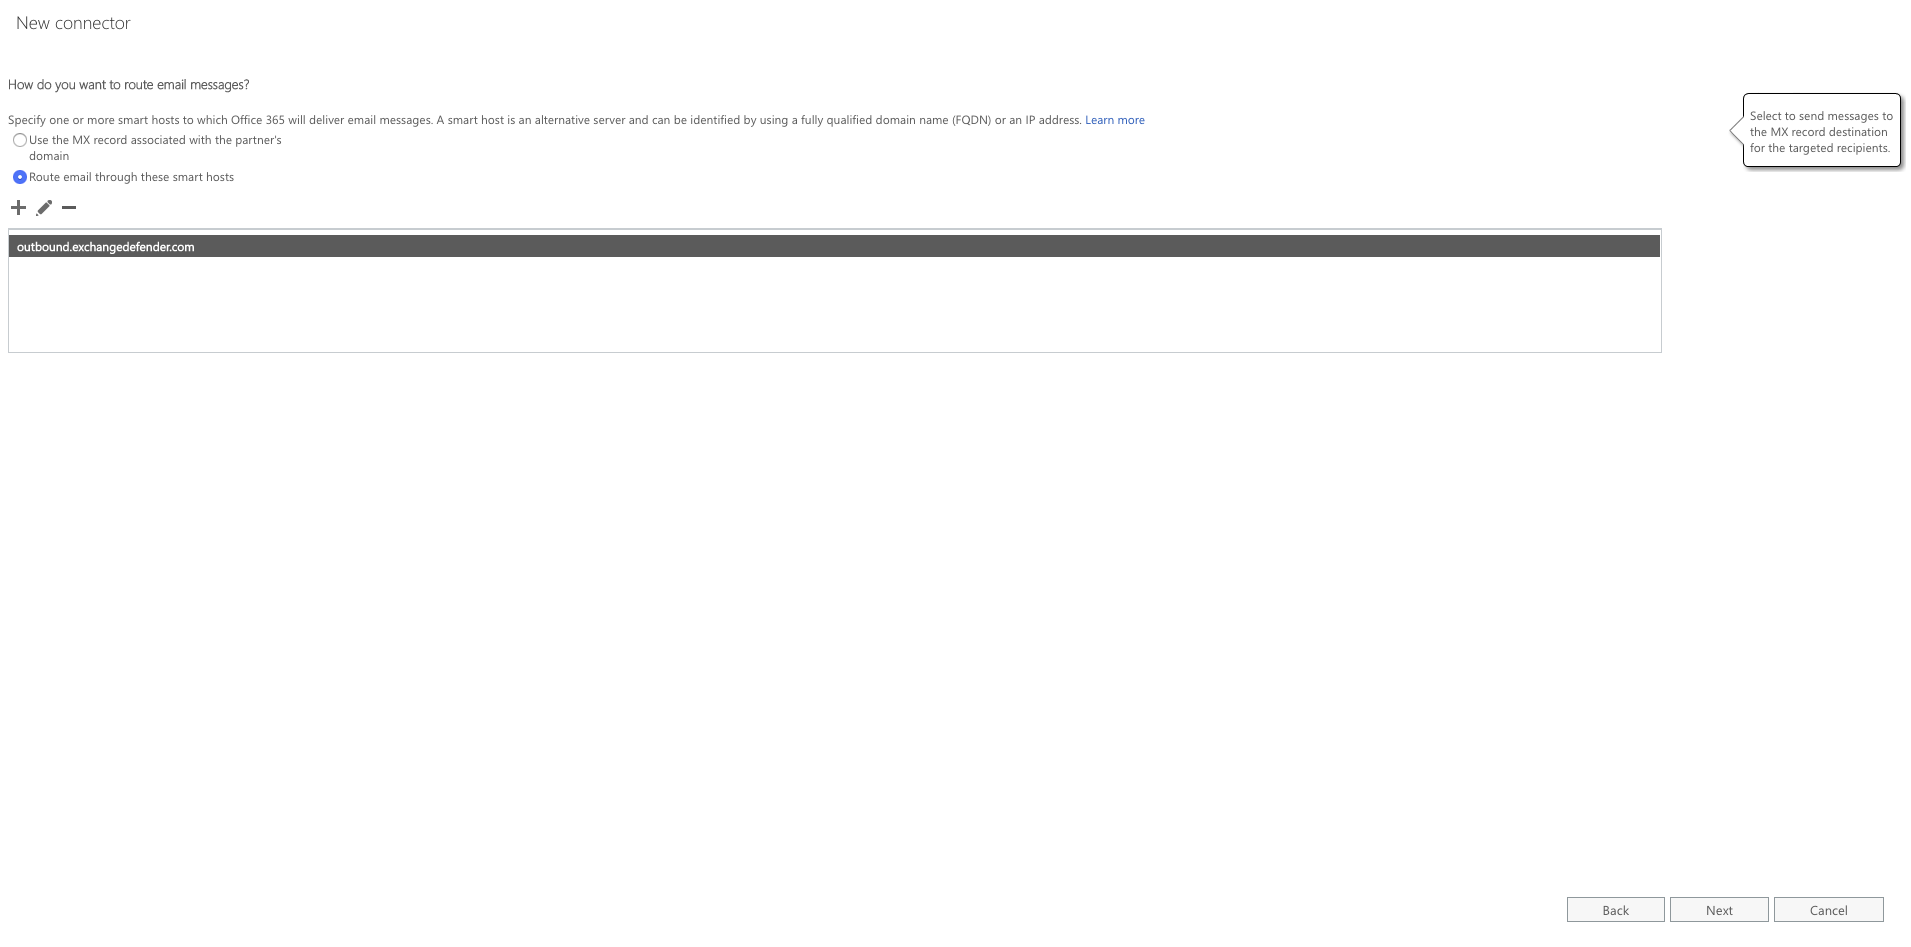
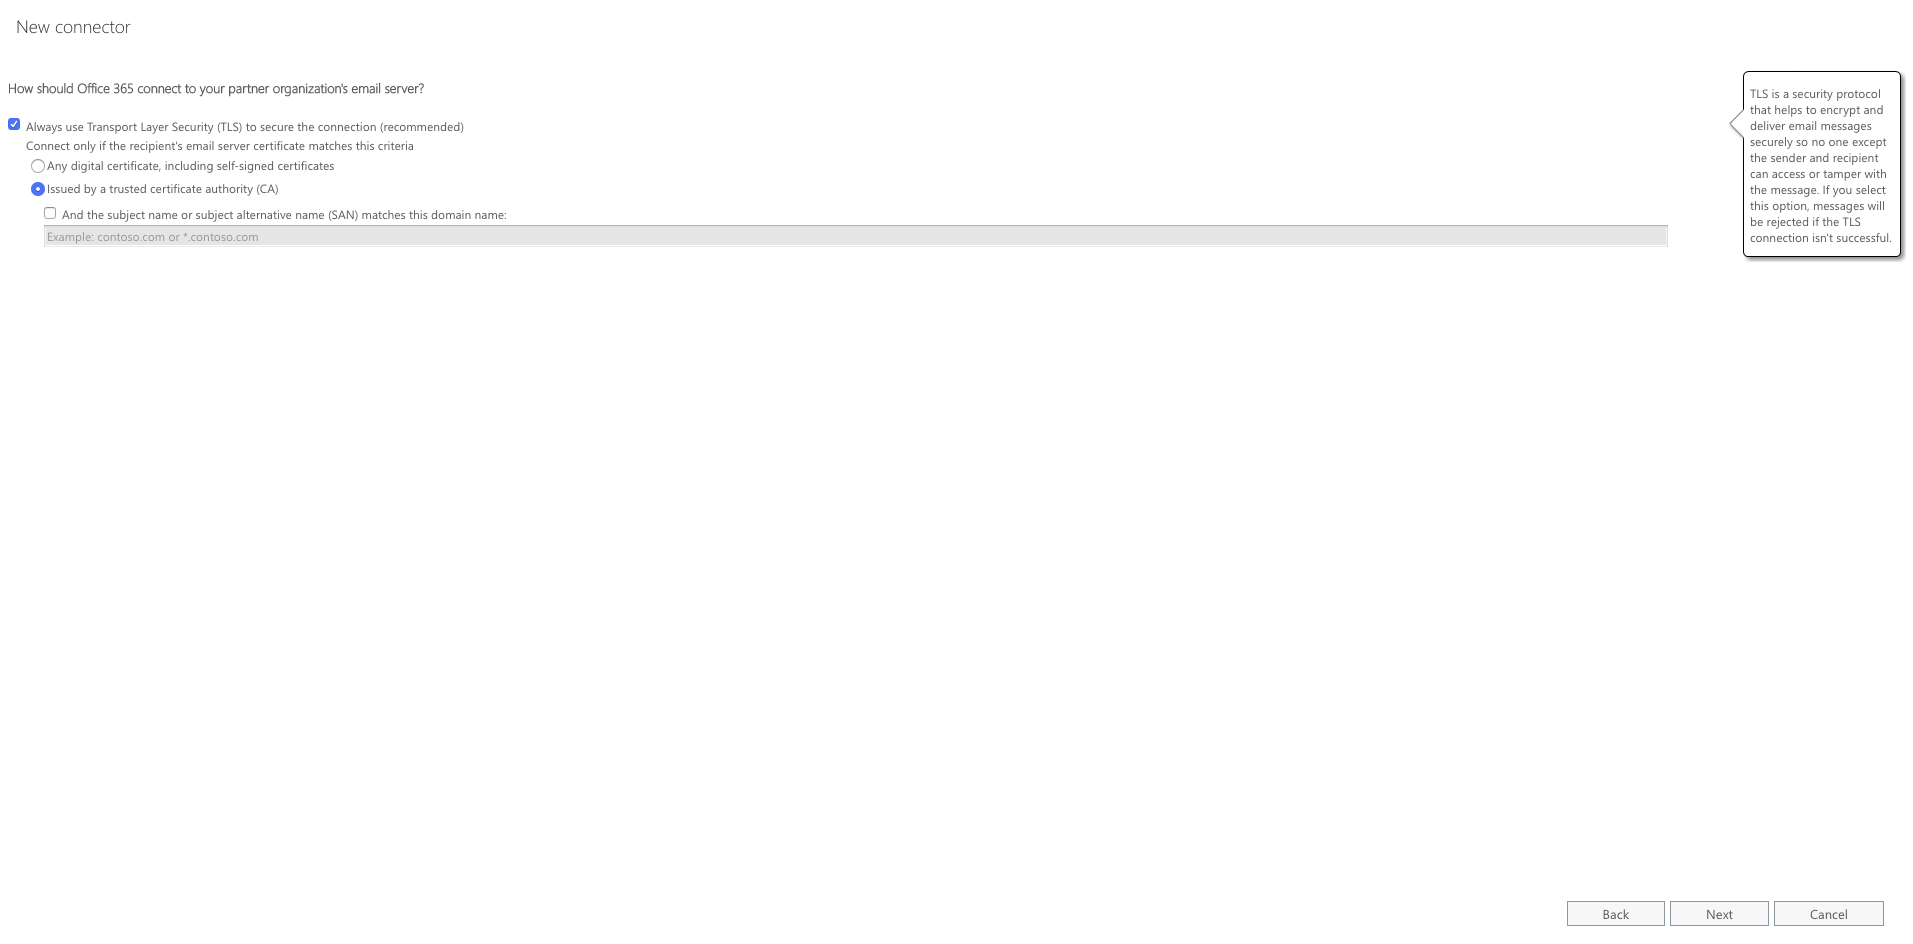
Once you've entered the smart host hit the 'Save' button. From there you'll be taken to the TLS screen. Keep all options default as shown in the screenshot below. Click NEXT. Add a smart host. Add 'outbound.exchangedefender.com' as you see it below.
Step 8: Validate Settings

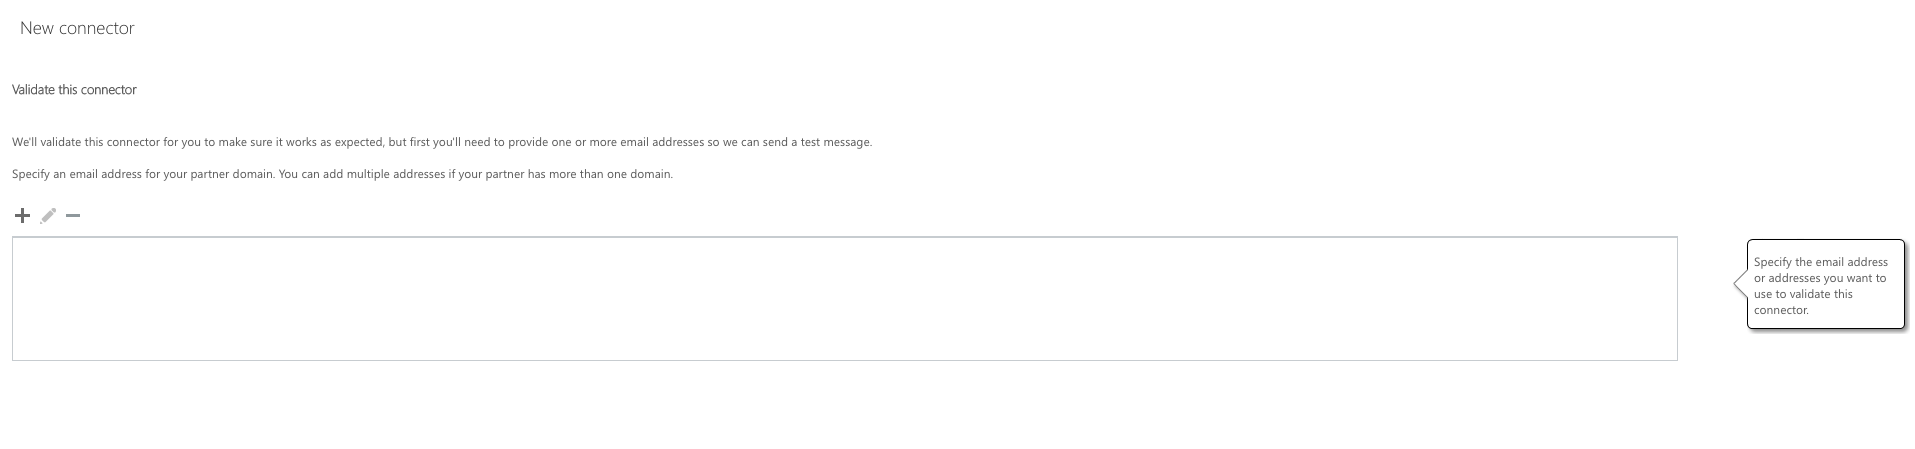
Validate your settings. NEXT , validatethat the connector works properly, so hit the '+' button to add a specific email to test it on. Click OK Hit VALIDATE.