Setting Up Accounts using XD's New IoT Connector
This Document is to provide a quick overview on how to setup your SMTP accounts for your webforms, devices (printers, scanners, etc) and third-party mailing applications on our new IoT Connector. The purpose of the connector is to provide you with an easy to use network that simply gives you access to relay such devices and applications through our networks without any hang-ups.
Simply provide the device/application with an email address and the Username and Password and you should be good to go. Please keep in mind that the system cannot be used with third party Hosting companies or for abuse (SPAM, Mass mailing).
If you have any questions please contact us at 877-543-0316 or put in a support request via support.ownwebnow.com

Step 2:
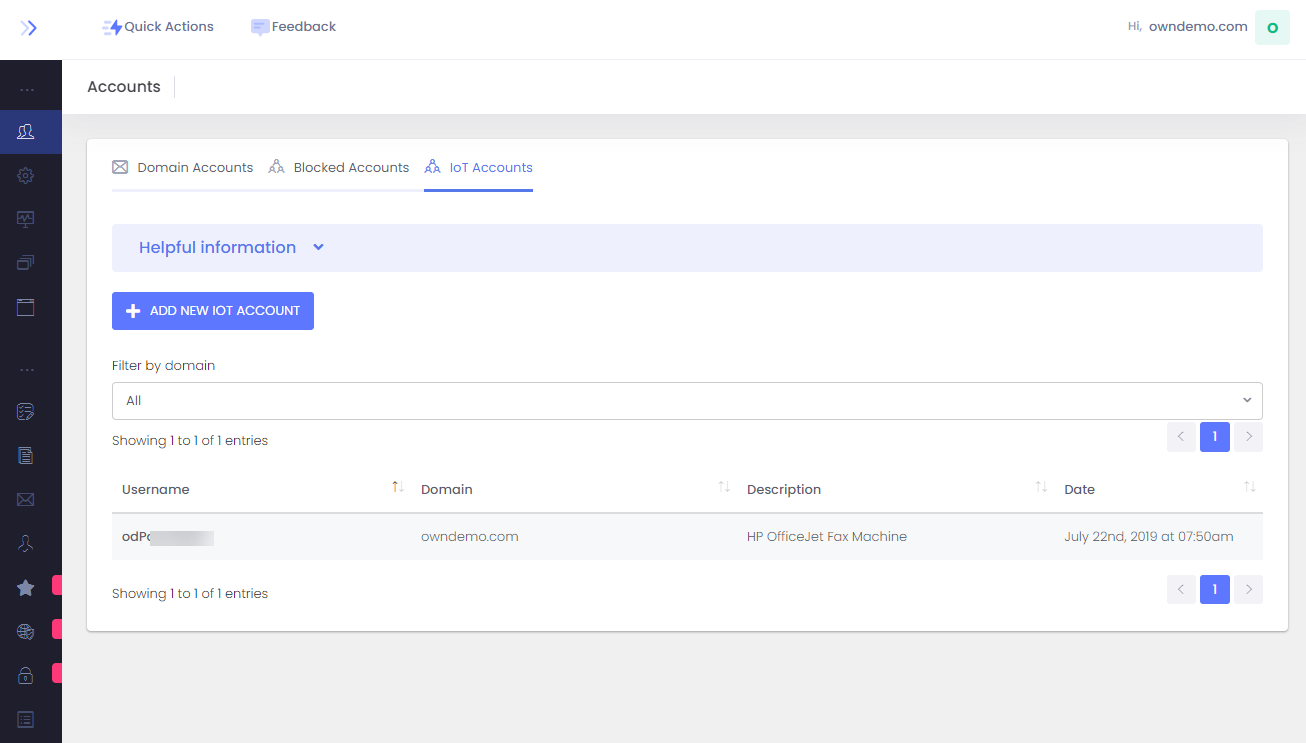
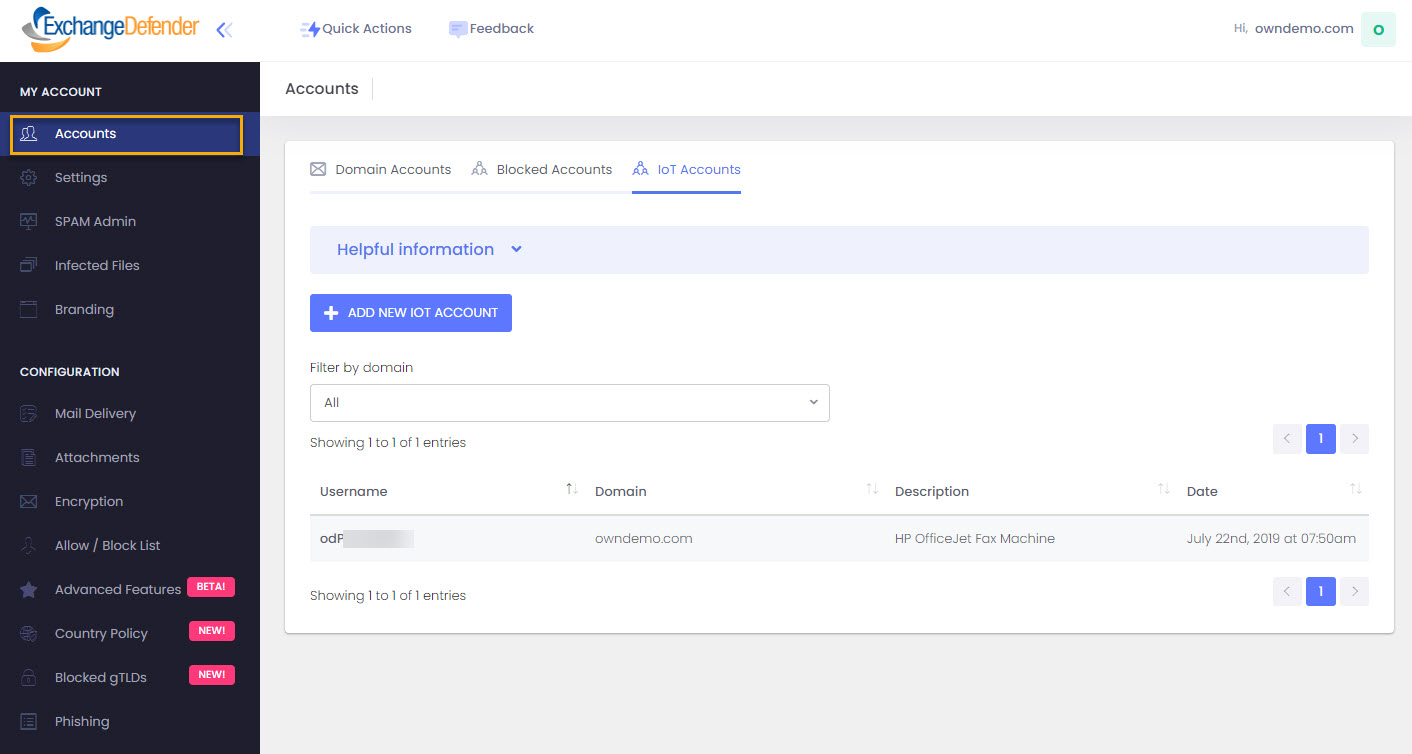
Navigate to the 'Accounts' tab on the left-hand side of the screen, and click on the ' IoT Accounts ' tab and it will take you to the configuration page for the IoT Configuration
Step 3:
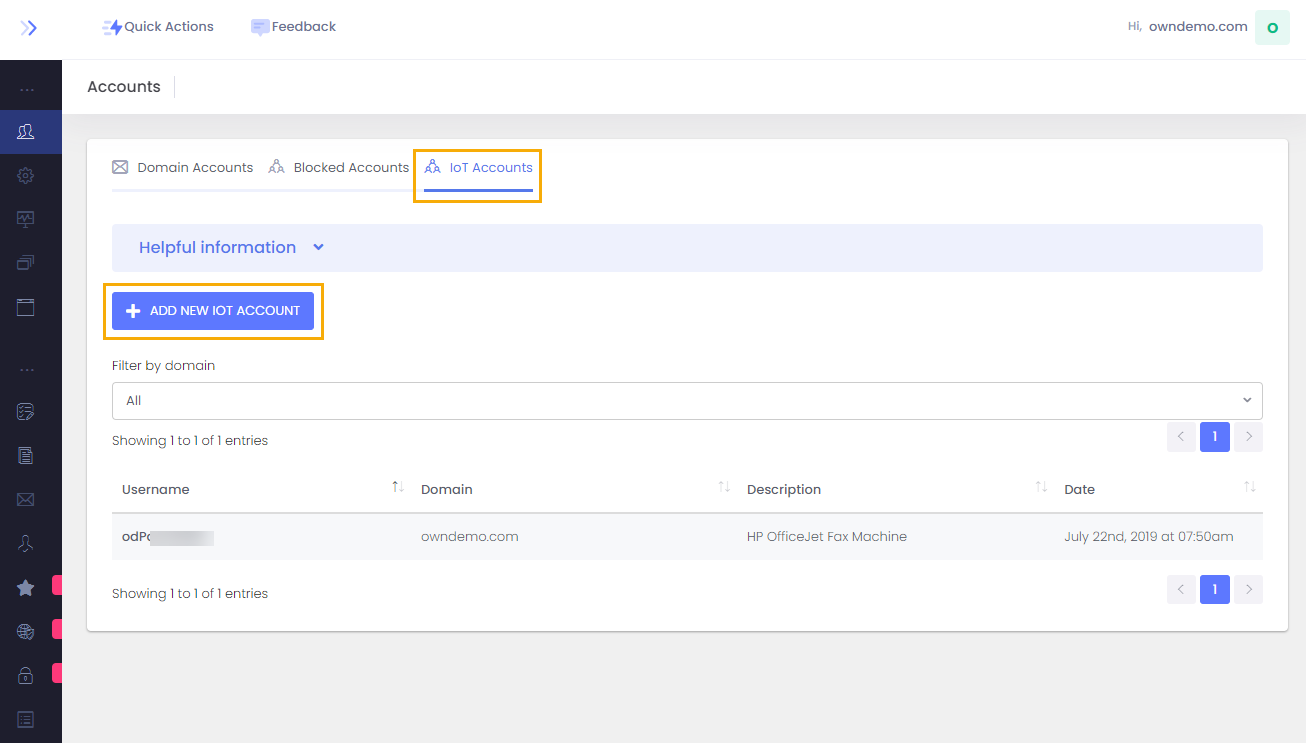
From here you'll be able to do the following: Select a domain from the dropdown to add the IoT account (The dropdown will have the main domain and any alias domains associated with the domain account) Clicking on Add will take you over to the configuration screen to add the IoT Account.
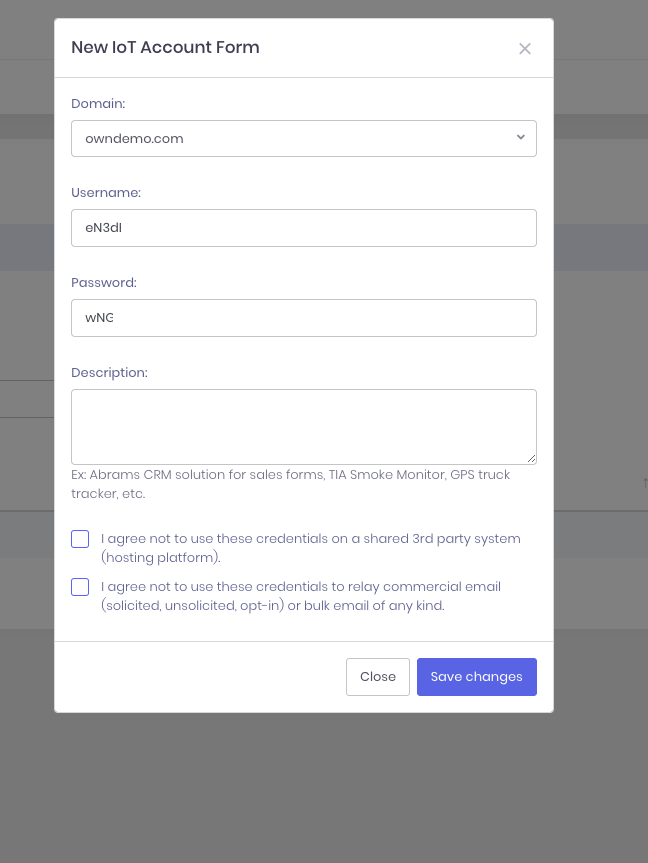
Once in the Account creation form you'll notice a couple of things: The Domain dropdown allows you to select the domain for which the IoT account will be created for
2 & 3. Usernames and Passwords are generated randomly and cannot be changed. This is a security measure that was decided upon to better protect your devices and accounts.
4. A description of type of account will be used for (ex. Using this for a printer/scanner, third party App, etc)
5 & 6. Standard Disclaimers that must be accepted before saving the account and having it become active.
Once it's complete, you click save and it will take you back to the accounts page. Click on the IoT Accounts tab again to be taken to the main screen so you can view the accounts you've created.