Documentation
Support Portal
Quick tour of ExchangeDefender's Support Portal - order services, get tech support, and manage clients.
Role – Client Admin
ExchangeDefender Support Portal is used to manage the entire business relationship between us and our clients. Our secure portal at https://support.ownwebnow.com is where you can order services, obtain technical and business support, manage your clients, and access ExchangeDefender resources.
To access the support portal, please visit: https://support.ownwebnow.com
Dashboard
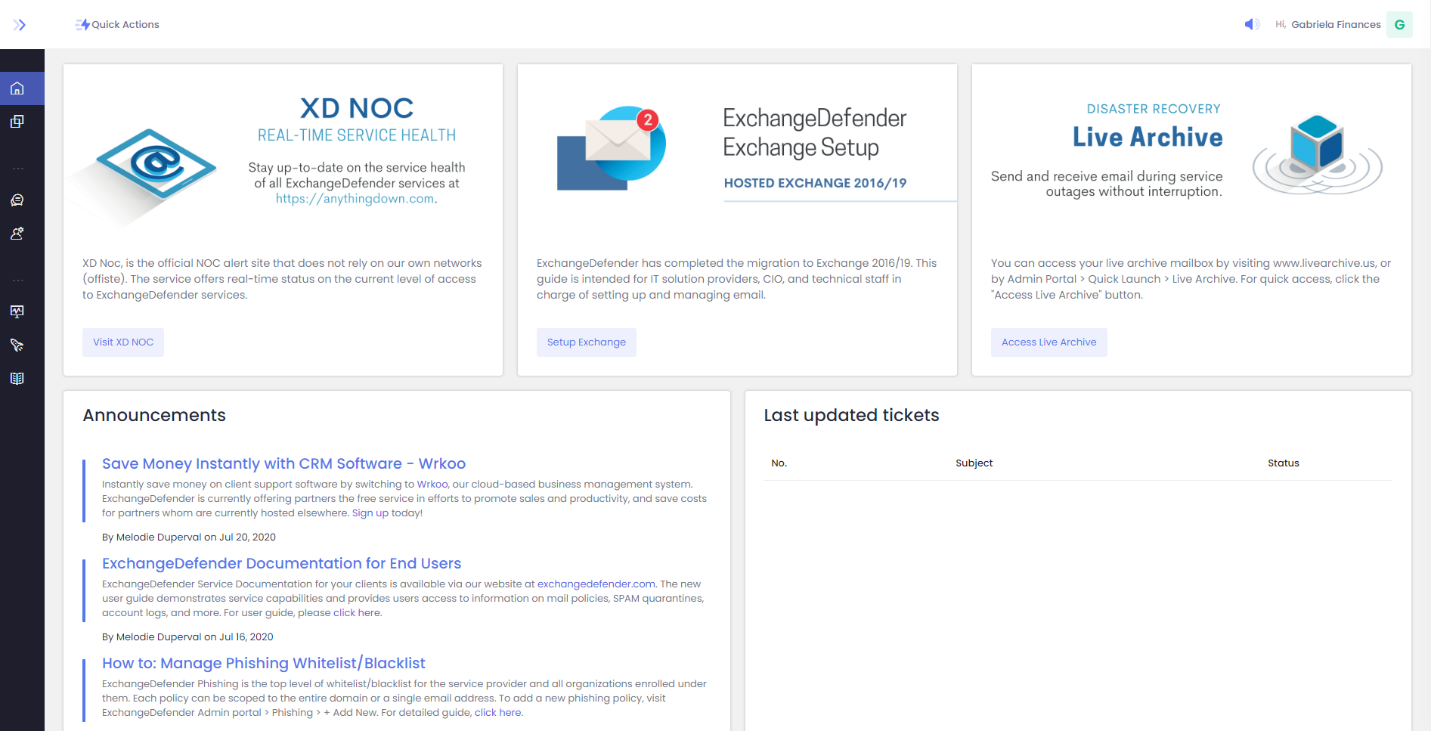
The dashboard is the home page of the support portal. Here you will notice:
Featured Support Articles
The featured Support articles are located at the top of your dashboard, and are updated monthly depending on the latest upgrades and new releases.
Announcements
The Announcements feature occurs twice per week and features the latest information from ExchangeDefender. This can range from new features, documentation, or even scheduled maintenance reminders.
Ticket updates
Your last updated tickets are located at the bottom right of your dashboard. Clicking on a ticket will allow you to see its contents and reply to it.
Quick actions
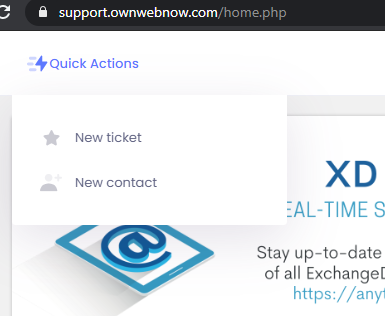
The quick actions button enables you to quickly create a new ticket, or add a new contact to your portal.
Notifications
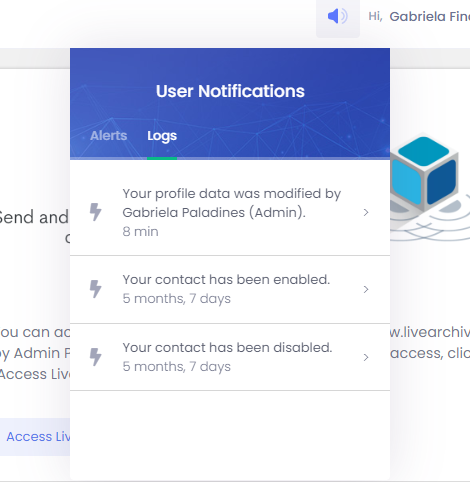
The User Notifications tab is there to alert you of any activity that has changed with your account. It also logs all of your portal activity; you can access it by clicking the “Logs” toggle.
Avatar/profile
Your Avatar contains a dropdown menu that gives you access to My Profile and My Company. To navigate there, simply click on your name at the top of your dashboard, and the drop menu will appear.
My Profile
Clicking on My Profile enables you manage your account settings. You can edit contact information, settings, change password and access your PIN for phone support.
You can also enable your two-factor authentication on your account for added security by clicking the Security tab.
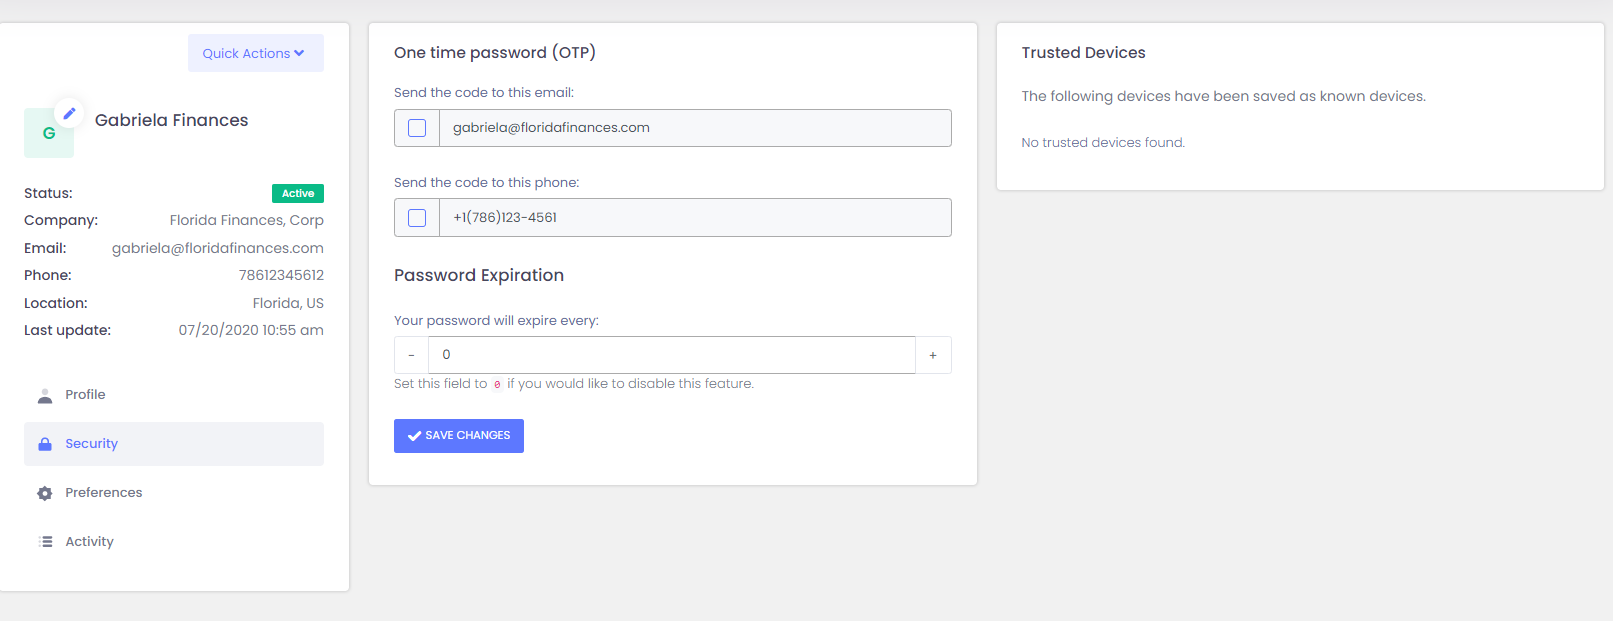
The Activity tab keeps a log of all of the support requests and requests that are currently associated with your account.
My Company
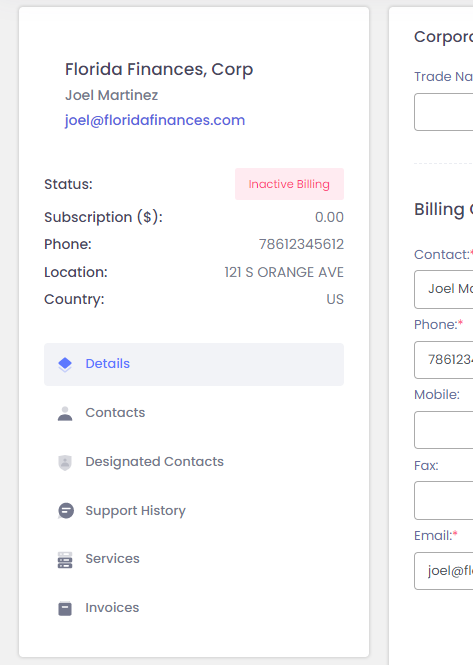
When you click on My Company from the dropdown menu, it displays your organization information like Corporate, Billing, and Financial information. You also have access to your Contacts, Designated Contacts, Support History/Tickets, Current Services with ExchangeDefender, and Invoices.
How do I access my Contacts?
You can access them a few ways. The fastest way is by clicking the Contacts tab located in your side panel. You can also view your Contacts by visiting My Company > Contacts.
How do I add my designated contacts?
Your designated contacts are the persons who are responsible for your administrative, billing, and technical contact. They can all be different individuals or all the same. You can edit your designated contacts by visiting My Company > Designated Contacts.
How do I find my current Services?
You can find the current services that you are currently subscribing to located under My Company > Current Services.
How do I find my support ticket history?
You will find your support history located at My Company > Support History . Click the Support History tab, and you will be able to see a full activity log. You are able to filter by status, and by keyword search.
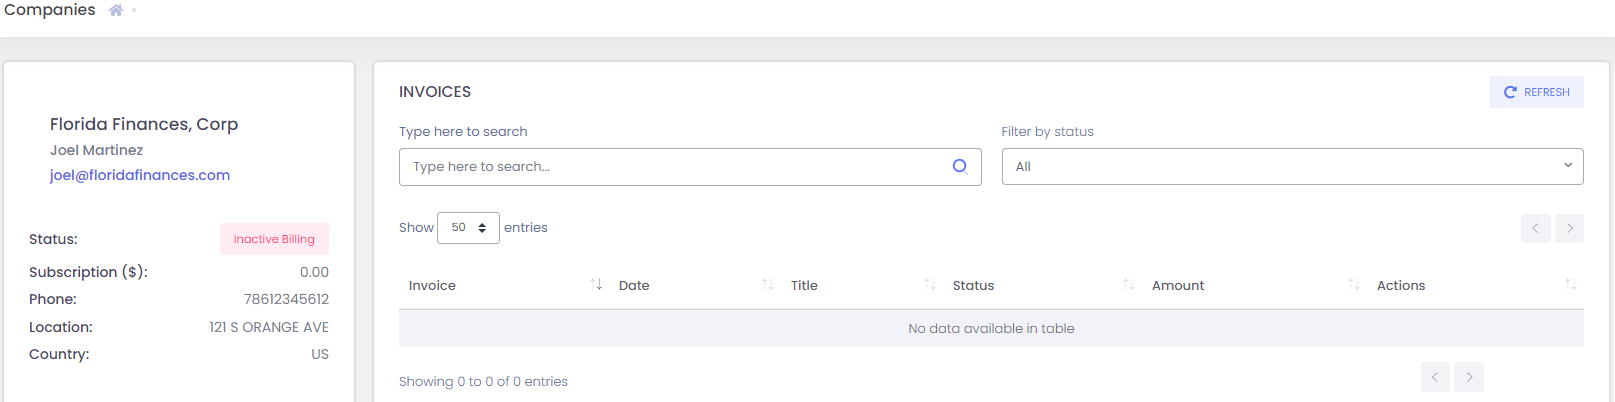
How do I find my Invoices?
To locate your invoices simply click on My Company > Invoices.
Support Portal Console – Side Panel
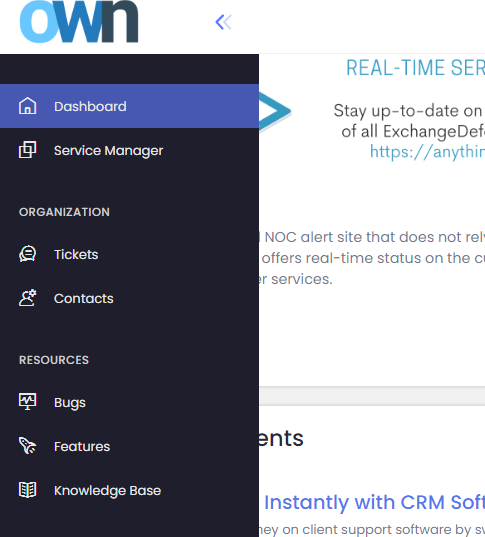
The support portal console is located on your left side of your screen. This side panel console enables you to do the following actions:
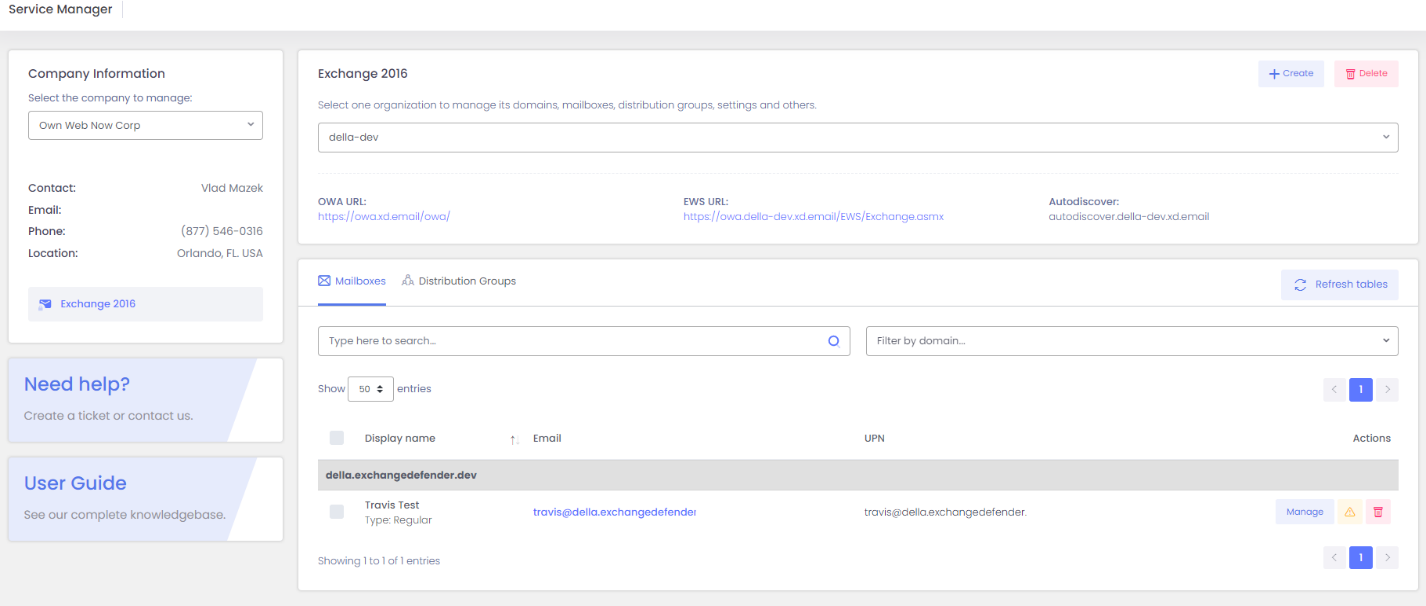
The Service Manager is where you to go to create and manage Hosted Exchange Mailboxes, and Distribution Groups. To see full documentation on the Service Manager, please click here.
How do I add a service?
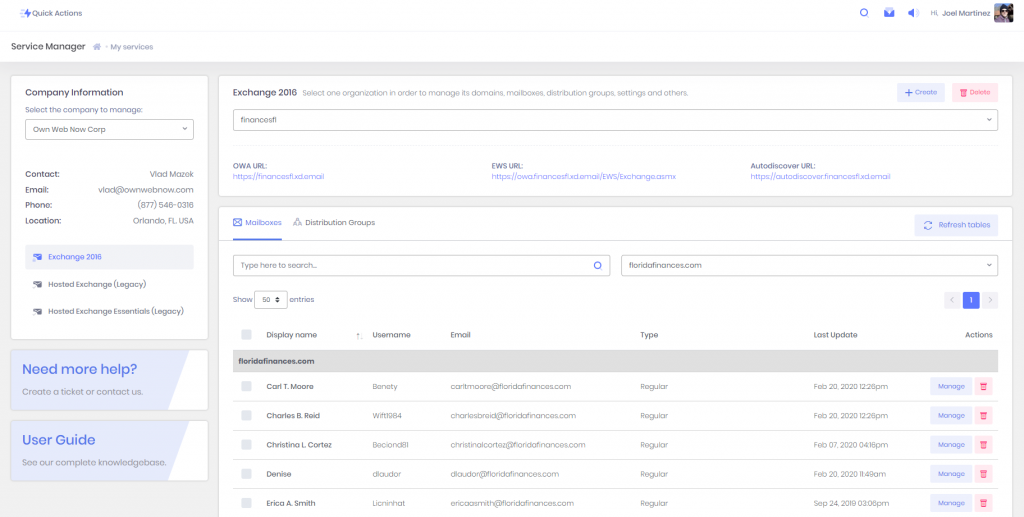
To add a service, please visit the Service Manager tab in your side panel console.
Step 1 – Select the organization that you would like to manage by using the dropdown menu under Company Information
Step 2 – Once you select the organization, the list with all the domains mailboxes and distribution groups under that organization will be updated below. (It is possible to search for specific accounts or filter by domain if you wish.)
How do I create a new mailbox?

Step 1 – Click the + Create button, and select the New Mailbox option:
Step 2 – A pop-up window will be displayed where you would have to select the domain and then type all the information for each one of the mailboxes.
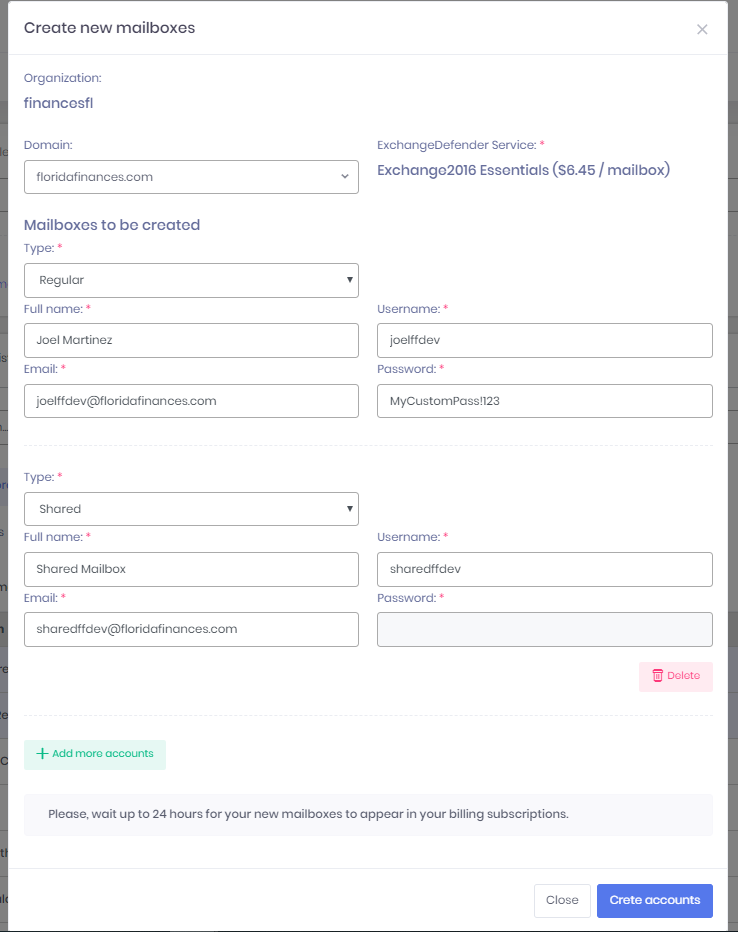
Step 3 – Click Create Accounts.
Tickets

The Tickets feature is what you will use the most inside the support portal. Creating a Ticket means you are requesting technical support or have another request that ExchangeDefender can help provide assistance.
How do I create a new ticket?
To create a new ticket, simply click the + New Ticket button.

Once you have clicked the New Ticket button, a pop-up form will appear.
- Enter the subject for the ticket – what is the issue you are reporting?
- Select the affect client who is having the issue.
- Select the Service Board that you think the ticket should go to, and provide the level of Priority.
- In the comments section, tell us in detail what the current issue is that your client is currently experiencing. You can attach a file if you wish to, this often can help our technical support troubleshoot the issue faster.
- Click Create Ticket, and done.
Contacts
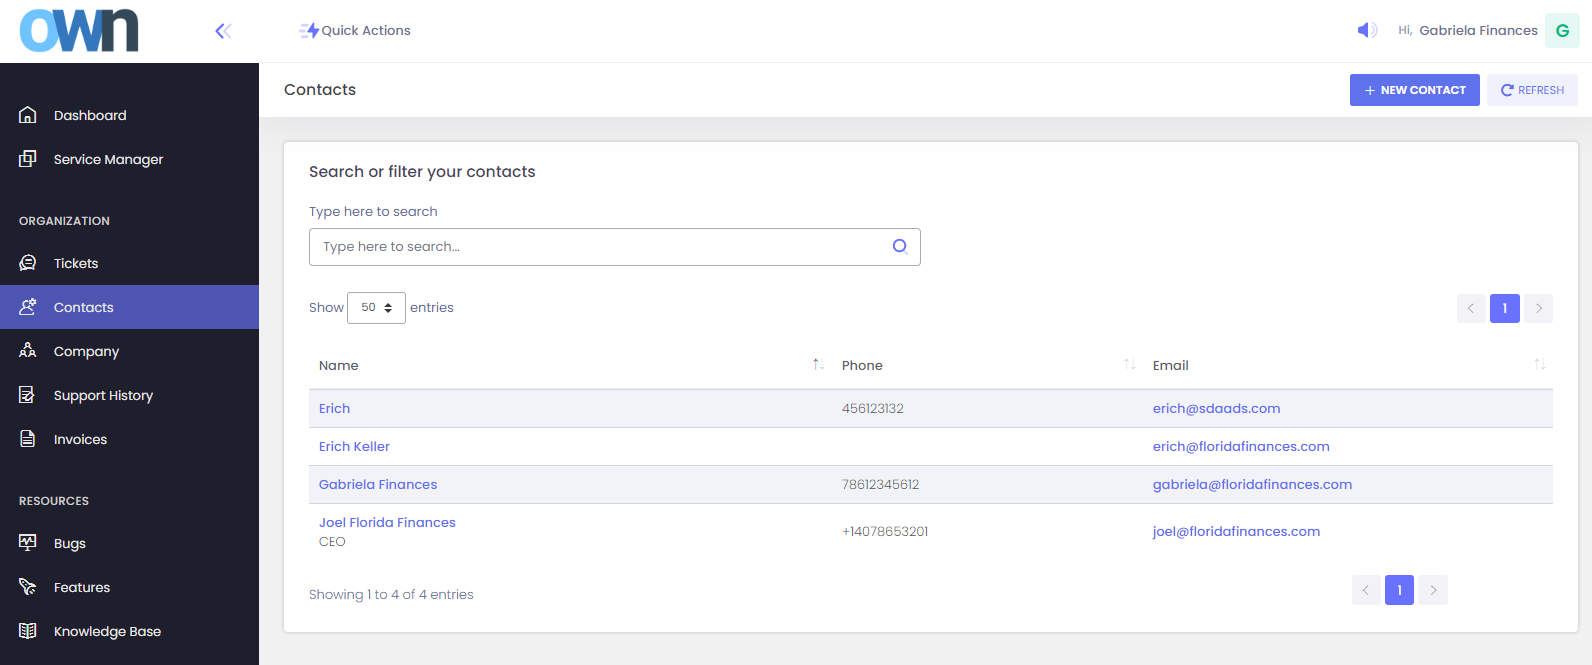
The Contact tab offers you the ability to manage your client’s information from inside the support portal for a better client management experience.
Clicking on the Contacts will display all of your contacts that are currently saved. Clicking on their name will show you more information about the Contact. From here you are to edit their information, and reset their password, if needed. You can also view the Contact’s portal support activity for better servicing.
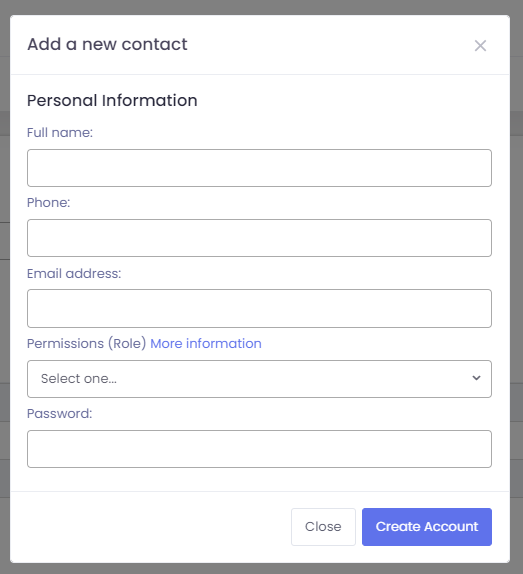
How to create a new Contact?
- Simply click the Contacts tab in your side panel console.
- Click on the New Contact button
- A pop-up form will appear, fill out the information and click Create Account.

Bugs

How do I put in a new Bug report?
Under the Resources section on your side panel console, you will find a section labeled Bugs. This section is where you go to submit a technical issue or malfunction with our service or UI. Submissions of Bug Requests are view by our Developers in hopes of quick resolution.
To add a new Bug report, simply click the + New Bug button. A pop-up form will appear.
- Enter the subject of the Bug you're reporting.
- Confirm the Category.
- Confirm which product you are submitting the bug for.
- Enter the actual issue into the “comments” section. Please be as detailed as possible.
- Click Open Request button to confirm the submission.
Features
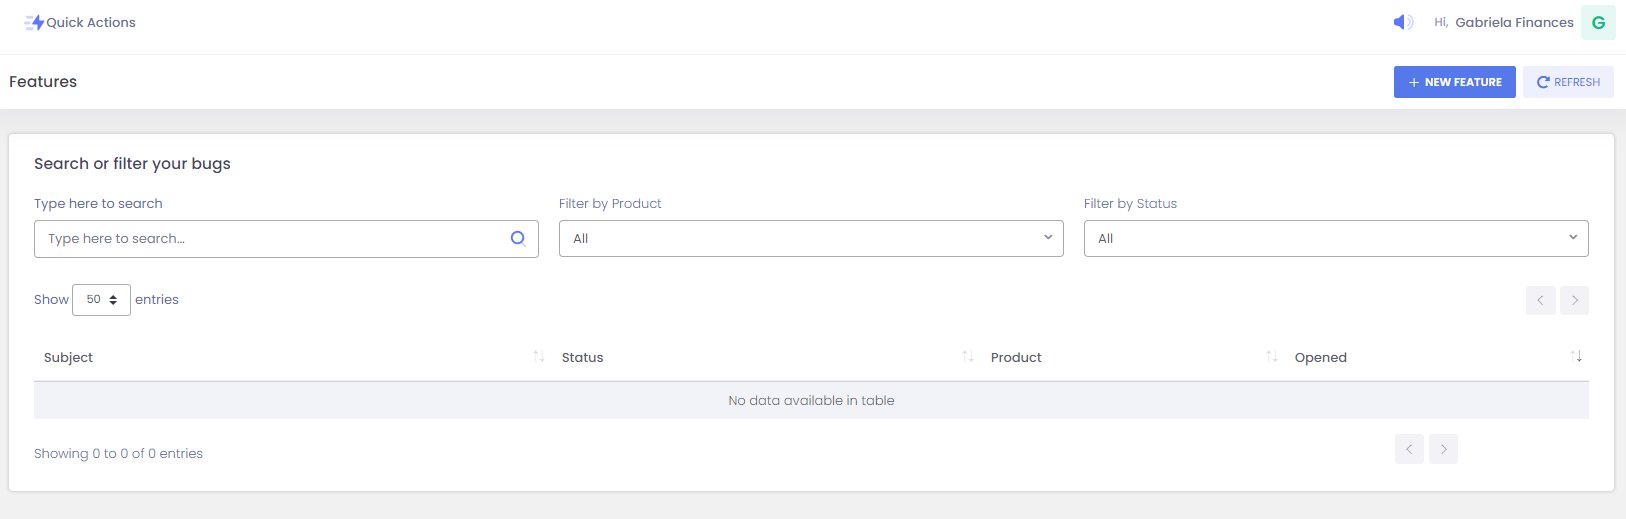
How do I put in a new feature request?
The Features section enables you to submit feature requests that you would like for ExchangeDefender to look into. To submit a New Feature request:
- Tap the + New Feature button
- Enter the subject of the Bug you're reporting.
- Confirm the Category.
- Confirm which product you are submitting the feature request for.
- Enter the actual issue into the “comments” section. Please be as detailed as possible.
- Click Open Request button to confirm the submission.